Writing code for your apps is often the slowest and most expensive part of building your startup idea. Going from a feature idea to completed software can take weeks or even months, and how do you know it will even work? That’s where prototyping in app design comes in.
Prototyping in app design allows us to rapidly test and gather feedback on our ideas before a single line of code is written. By prototyping our ideas, we can determine which of a range of potential solutions will work best for our users in a matter of days.
If we’ve still not sold you on the virtues of rapid prototyping, read on for five more benefits.
Benefits Of Prototyping Your App
- Test ideas out quickly: prototyping is way faster than going through the entire development of a feature.
- Test ideas at low cost: prototyping is a low-cost exercise compared to writing the code
- Get feedback faster: prototypes allow you to get something in front of a user when days or hours rather than the weeks it often takes to build features.
- Rapid Iteration: your ideas can be further developed and improved as you gather feedback
- Reduce waste: prototyping reduces wasting resources on features that may not add value to your product
By now, you might be thinking, “that’s cool, but you still haven’t explained how I can use prototyping in my app!” Well, before we get to that, I should first explain that there are actually two main different types we use for prototyping in design.
Different Types Of Prototypes Used in App Design
The types of prototypes used in the app design process fit into Low-fidelity and high-fidelity prototypes.
Low-Fidelity Prototypes
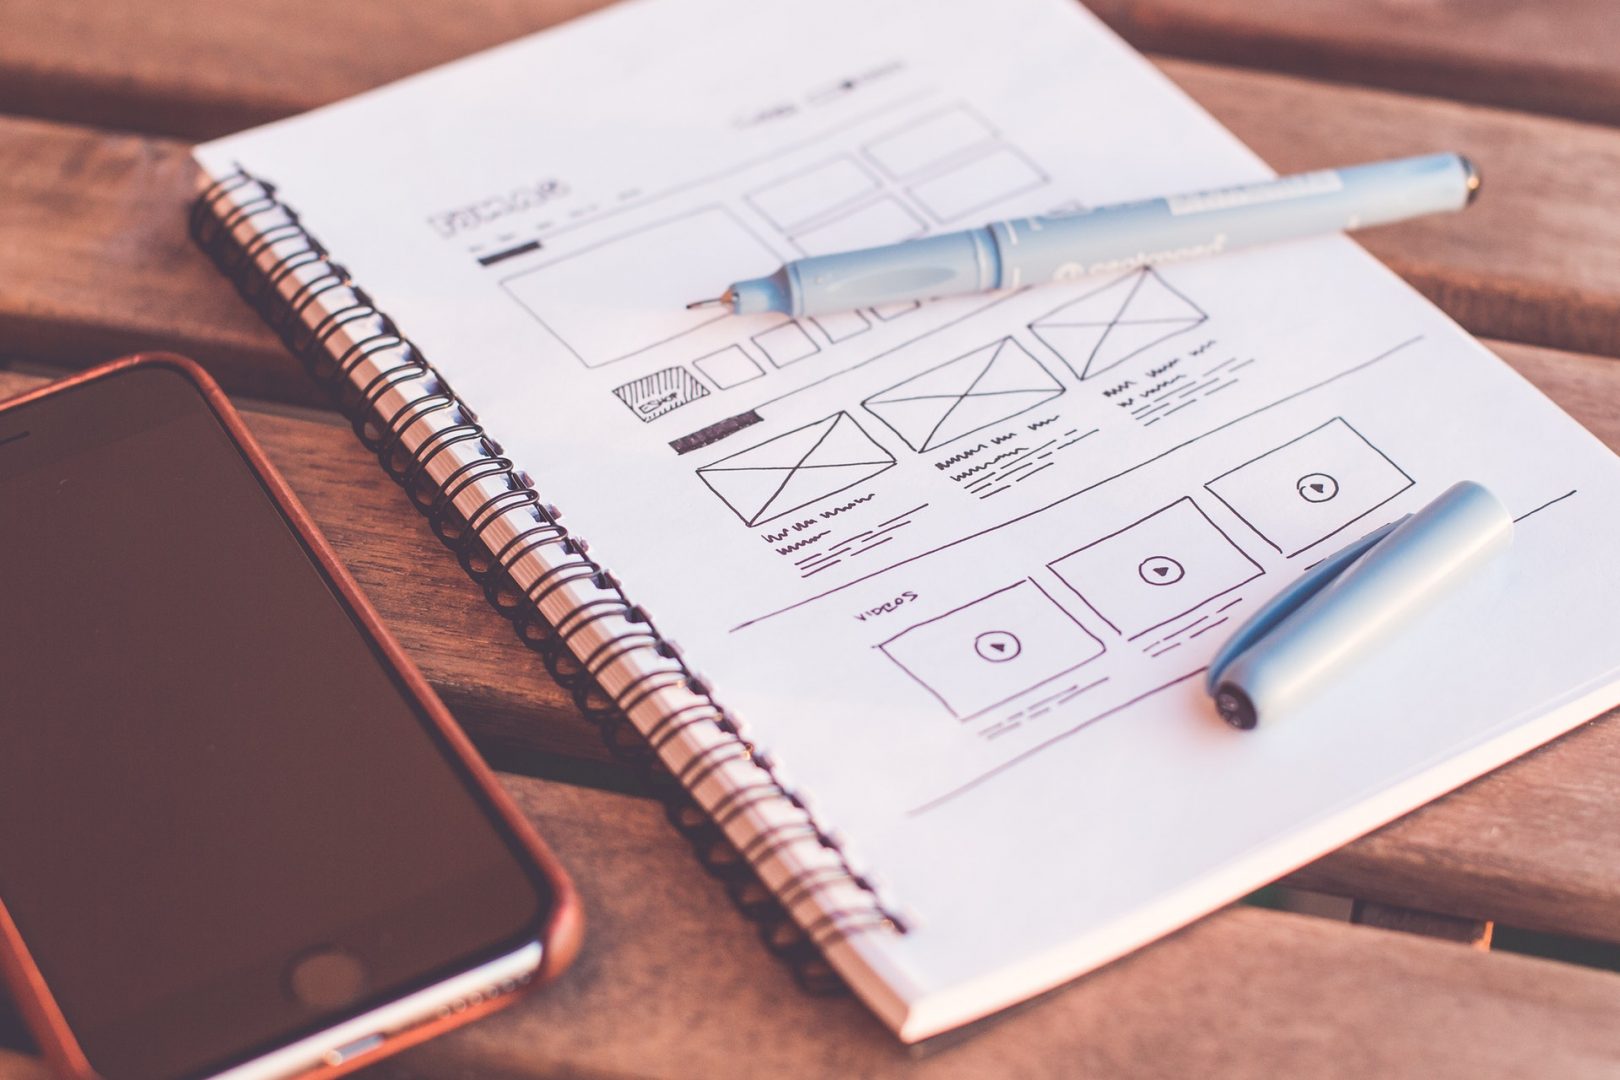
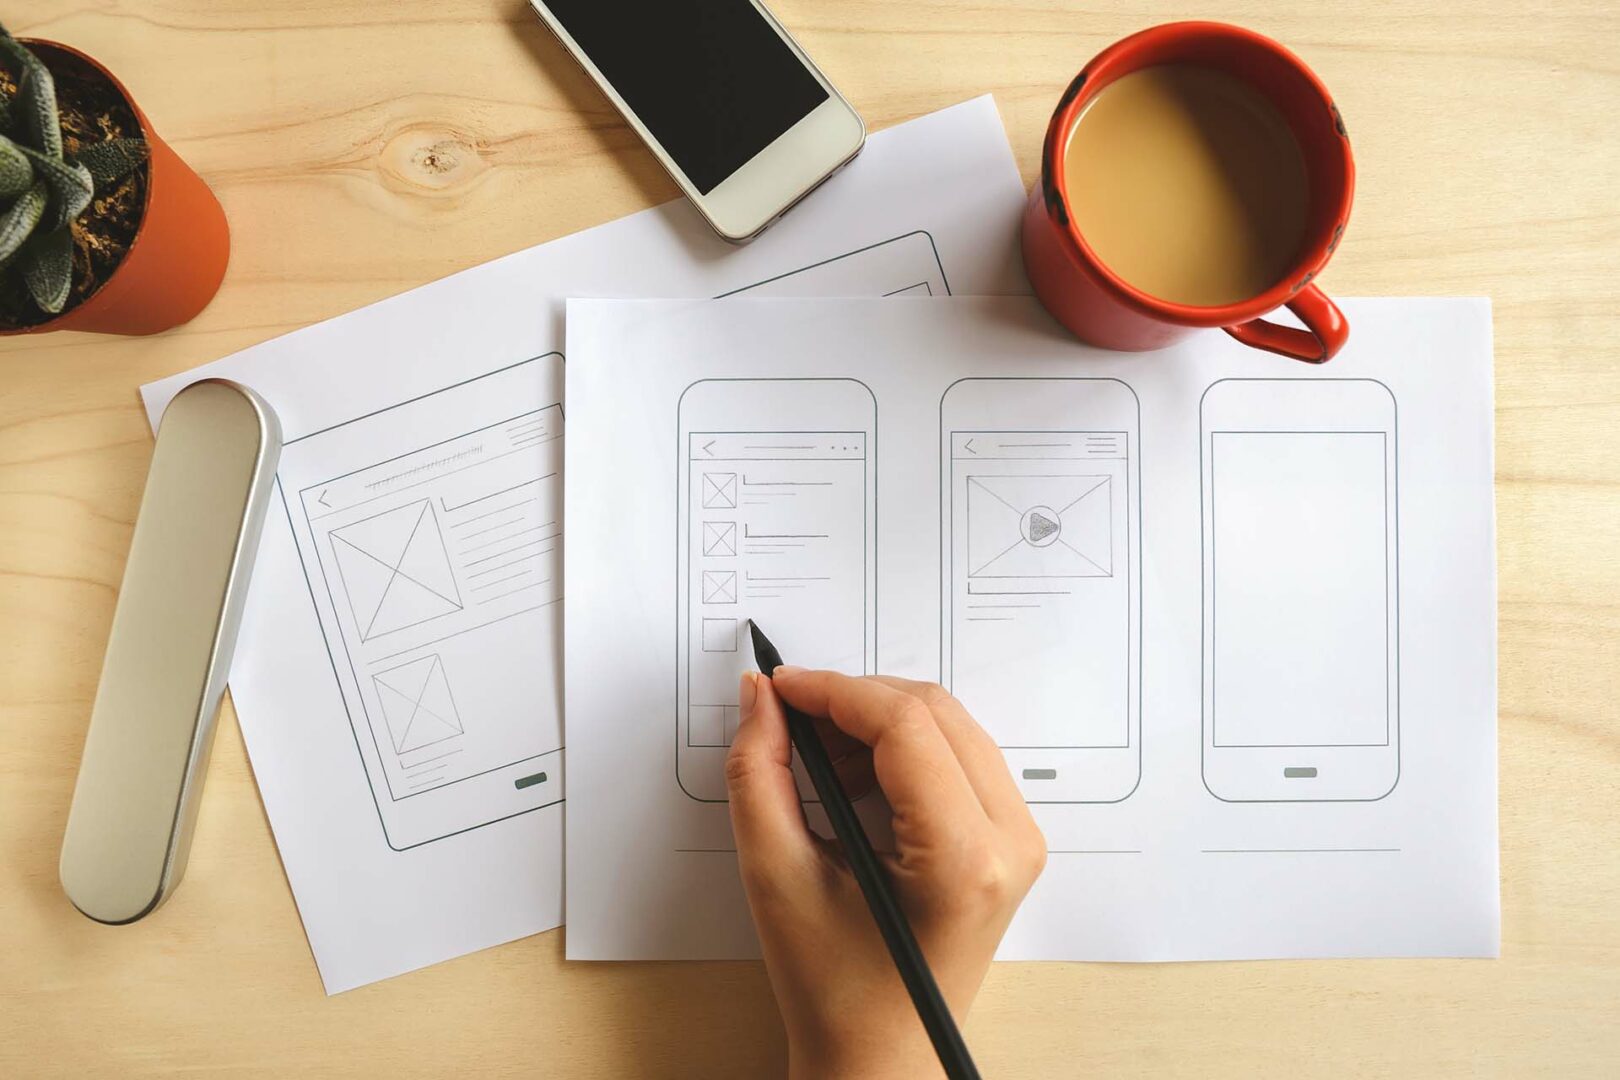
Low-fidelity prototypes are rough and ready; they exist to communicate your ideas to your product team or stakeholders as simply as possible. Examples of Low-fidelity prototypes include paper prototypes, rough sketches and wireframes. During design sprints, lo-fi prototyping is done early in the design process, and anyone in the team can be involved in creating paper prototypes – you don’t need to be an artist.
High-Fidelity Prototypes
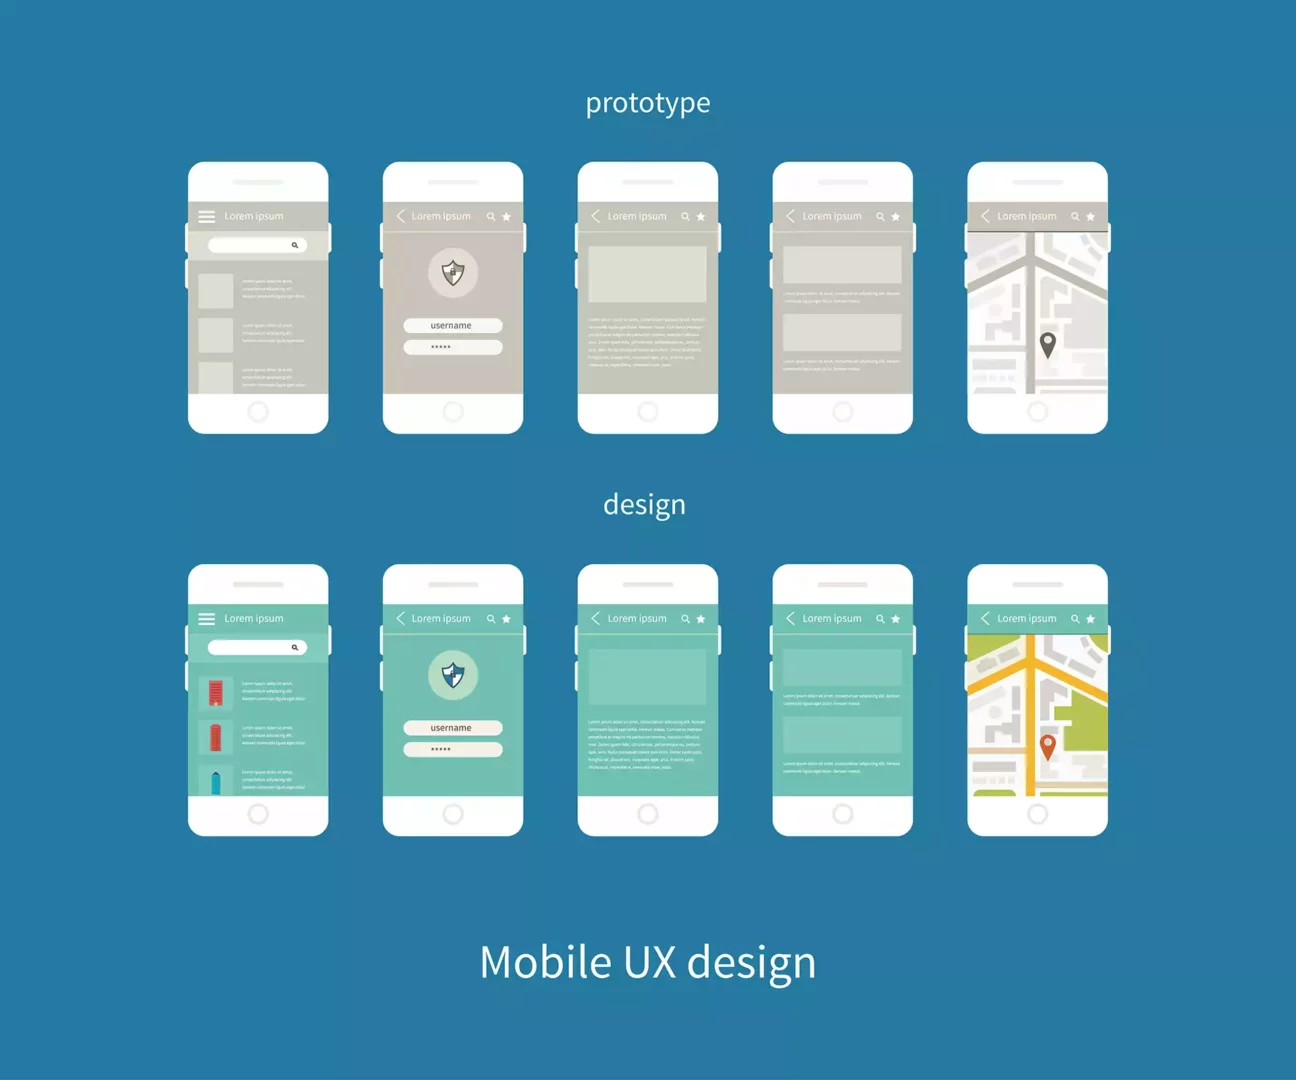
High-fidelity prototypes are used to test and gather user feedback on your ideas – and ideally, that feedback comes from real people who aren’t on your team. As the name suggests, High-fidelity prototypes are much more polished than lo-fi prototypes. Often because they follow on from low-fidelity prototypes you created before. These are interactive prototypes
How Is Prototyping Used in App Design?
One of the best ways to structure your prototyping is with what’s called a Design Sprint. Where you get together with your team to build and test a prototype in just five days. You may wonder how it is possible to build and test a prototype in just five days. Well, here’s how each of those days breaks down.
Monday, map out the problem.
Before you start the day, you’ll need to have identified a problem big enough to be worthy of five days of solid work. Examples could be “how can we encourage customers to be more adventurous and order other products in our range” or “how can we increase the number of customers willing to upgrade to a premium account”. You can set the stage for the week’s design sprint using a problem like this.
On Monday morning, you’ll map out your existing product or service. In the afternoon, you’ll invite the people who are experts in your product or service to share what they know as you run through the map. Then finally, you’ll identify the point where you feel is the most painful – where you can improve and add the most value in order to meet your goal.
Tuesday, sketch out solutions.
When you have to solve a complex problem, group Brainstorming sucks. That’s why Design Sprints instead engage the whole team by inviting them to explore ideas and sketch out paper prototypes. This paper prototype stage isn’t just for designers, no. Sketching is a democratic process open to everyone in the room, and often the best ideas come from the people you’d least expect. The focus is on well-thought-out ideas, not artistic ability.
Wednesday, decide on which sketches are the strongest.
On Wednesday morning, you’ll have a boatload of sketched-out ideas from the previous day. To decide which one has the most promise, each team member votes by placing a coloured sticker on the ideas they think are best. The idea with the most votes (stickers) is the winner. In the event of a tiebreak, a designated decider makes the final decision. In the afternoon, the team sets to work on creating a storyboard of how the prototype will work for a customer.
Thursday, build a realistic prototype.
The goal of Thursday is to create a Realistic-looking prototype, so you’ll get the best data from testing on Friday. While this is a high-fidelity prototyping stage compared to the previous sketches, the prototype only needs to look like it works. So, if you need to simulate software and create interactive prototypes, it doesn’t need to be complex; digital presentation software, such as PowerPoint or Keynote, will work well. In other words, it doesn’t need to be perfect. You can create a Wizard of Oz prototype. You can duct tape things together. And “fake it till you make it”.
Friday, test the prototype with your customers.
Finally, the moment you’ve been working towards all week, it’s time to test your prototype with customers. This user testing usually takes the form of separate 1:1 interviews, where participants are given your prototype along with a prompt such as “book a flight from NewYork to Memphis”. A designated test facilitator then observes the customer and can ask questions when the customer gets stuck, such as “what would you expect to happen” or “where would you look for that information”.
The testing doesn’t need to be exhaustive. Usually, three to five customers are enough to give you quality data, so you can validate your prototype and identify areas of improvement. Testing with end users is a crucial part of user experience design, and if you would like to learn more about it, I highly recommend Steve Krug’s book Don’t Make Me Think.
Final Thoughts
In this article, we’ve covered the basics of prototyping, how it can save time and money, and why it’s a valuable tool in the app design process.
If you’re working on your own app project and looking for some design or technical help, contact us, we’d love to help you bring your idea to life!
